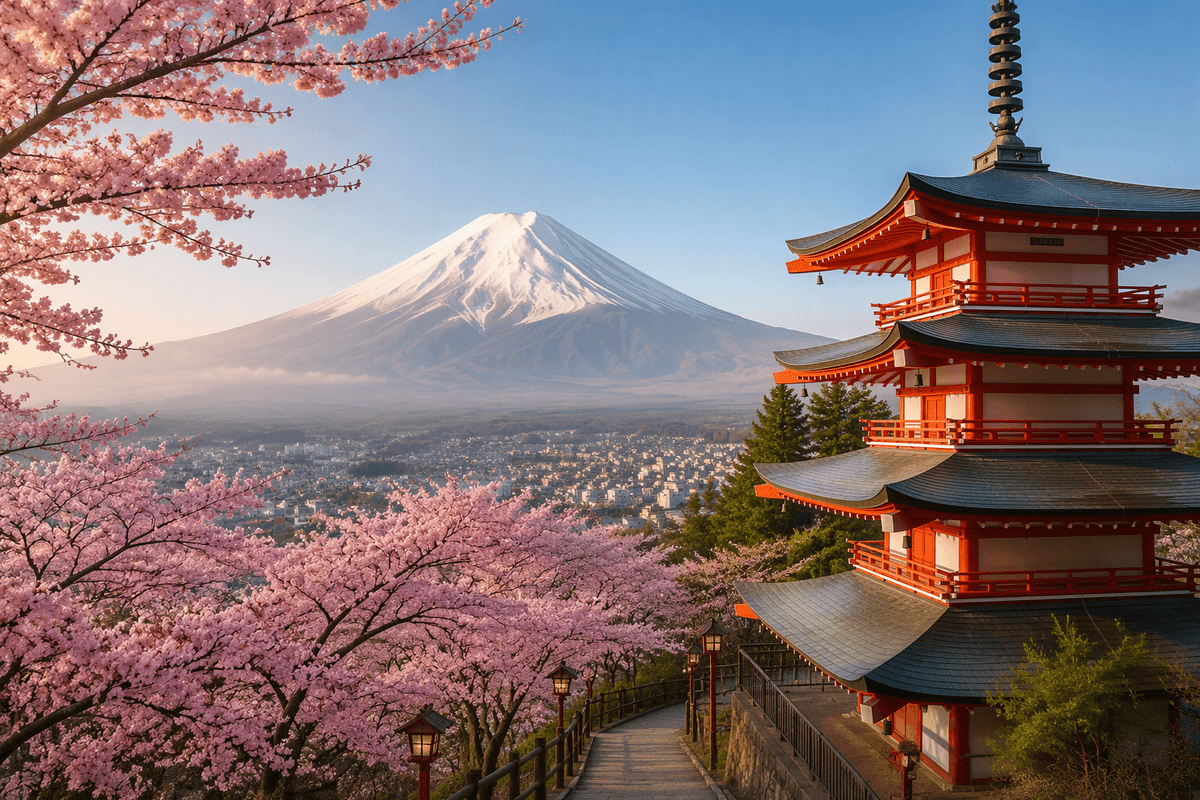
Planning tension: too much Japan, too little time.
The first trap in planning Japan is thinking in places instead of in hours. On paper, Tokyo–Kyoto–Osaka–Hiroshima–Hakone looks tidy; in practice, every “quick” add-on drags luggage, check-in windows, platform navigation, and decision fatigue into your day. The math that matters isn’t distance—it’s how many times you’ll relocate, and how often you’ll be trying to be efficient while jet-lagged and hungry.
For a 10–14 day first trip, Tokyo + Kyoto works because it keeps your long intercity jumps to one big move, not three. You’ll see a hundred tempting pins on the map and have to leave most of them there. I’ve found it’s better to “miss” a city than to arrive at it already tired—especially in peak seasons when popular sights turn into timed-entry puzzles and dinner lines start earlier than you expect.
A useful constraint: pick two bases, then allow only one true side trip that requires a return train the same day. Everything else becomes optional, not promised. If that feels conservative, good—Japan rewards the extra hour you didn’t schedule, whether it’s for getting lost in a station, waiting out rain, or simply sitting down before your feet decide the itinerary for you.
Days 1–3 Tokyo: Must icons; Optional wards; Skip long transits.
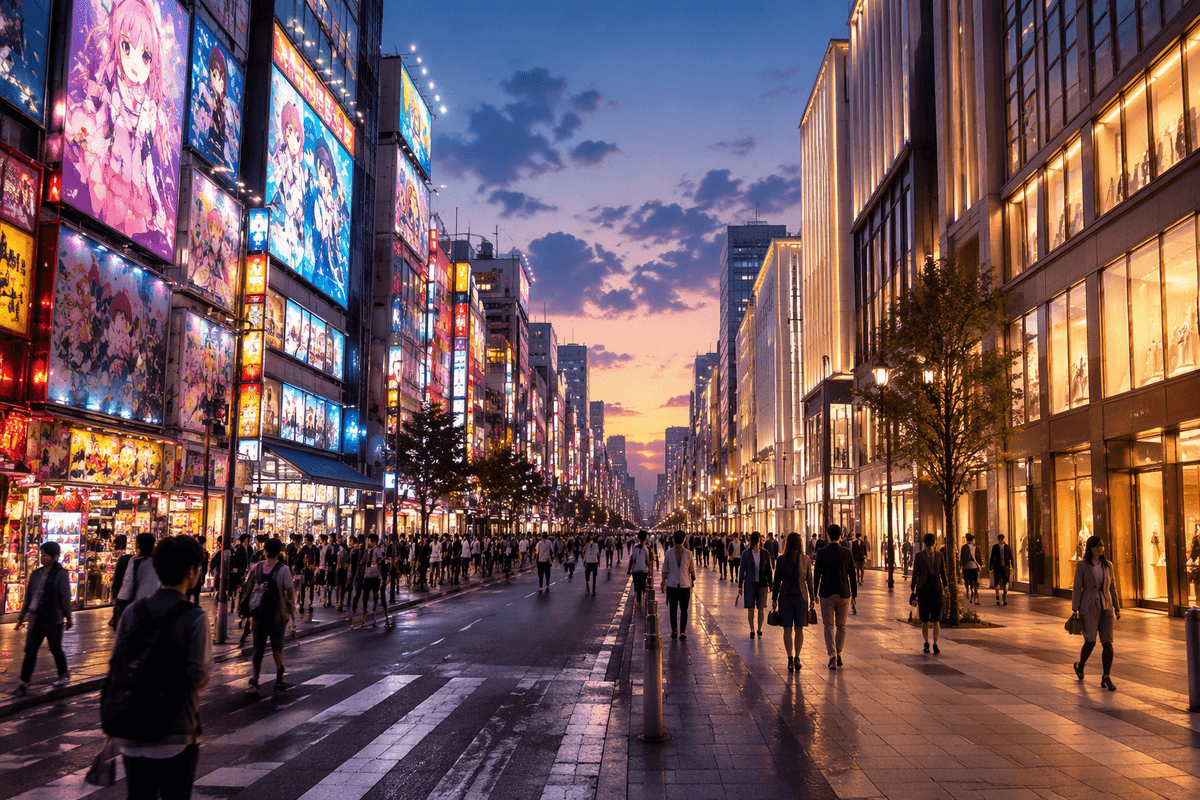
The first Tokyo morning is where your plan meets your body. Jet lag tends to wake you up early, which is a gift if you spend it on a “must” that’s calm before the crowds—then protect your afternoon from long cross-city treks that look short on a map and feel endless on tired legs. I like anchoring Day 1 around one iconic area (Asakusa/Sensō-ji works well) and one modern counterpoint (Shibuya crossing and an early-evening view). It works because you’re not asking yourself to learn three train systems and a dozen exits on the same day.
For Days 2–3, think in clusters, not neighborhoods you “should” see. Pair Meiji Jingu with Harajuku/Omotesandō, or Ueno Park with nearby museums—then stop. A single extra line change can turn a “quick” hop into a 25-minute mental tax, especially when you surface from the wrong exit and reorient in a sea of signage. If you’re choosing between Akihabara and Ginza, pick the one that matches your energy (hyper-stimulus vs. polished strolling) and let the other go without guilt.
Two practical trade-offs keep Tokyo from eating your trip: skip far-flung “just because” detours (Odaiba often costs more time than it pays back), and avoid stacking reservations back-to-back. If you book one timed-entry thing, build a buffer on both sides for late trains, slow lunches, or rain. Tokyo is better when you have room to wander—because the best moments tend to happen between the icons, not only at them.
Days 4–5 Kyoto: Must temples; Optional Gion; Skip midday queues.
I felt the pace shift the moment I rolled into Kyoto: same efficiency, but a different kind of navigation tax. Kyoto’s sights aren’t strung along one convenient loop the way Tokyo neighborhoods can be, so the first decision is less “what do we want to see?” and more “how many bus rides are we willing to tolerate today?” If you arrive around midday, don’t force a big temple sprint immediately—check in, drop bags, and use the late afternoon for something nearby so you’re not learning the city’s transit while hungry and carrying luggage.
For a two-day Kyoto sample that actually holds up, pick one “northwest” anchor (Arashiyama or Kinkaku-ji) and one “east” anchor (Kiyomizu-dera into the Higashiyama lanes), then protect your mornings. The works-well move is doing the headline temple early—gates open, light is softer, and you’ll spend your energy looking instead of queueing. The doesn’t-work version is arriving at Kiyomizu-dera at noon on a clear day and discovering your bottleneck isn’t the walk, it’s the crowd speed.
Gion is best treated as optional, not owed. If you’re already in Higashiyama late afternoon, it’s an easy extension; if you’re coming from the other side of town after dinner, it can feel like you’re commuting just to take one photo and leave. A practical trade-off: choose either a sit-down dinner reservation (which pins your evening in place) or an aimless twilight wander through Yasaka Shrine and the back streets—trying to do both usually turns into rushing through the part that should feel unhurried.
One small rule that saved me: schedule your “must” temples as the first thing you do each day, and let the second half stay flexible for weather, feet, and bus delays. Kyoto rewards restraint; it’s the city where doing fewer stops can look like a smarter plan, not a smaller one.
Day 6 Nara/Osaka: Must Todai-ji; Optional Dotonbori; Skip malls.
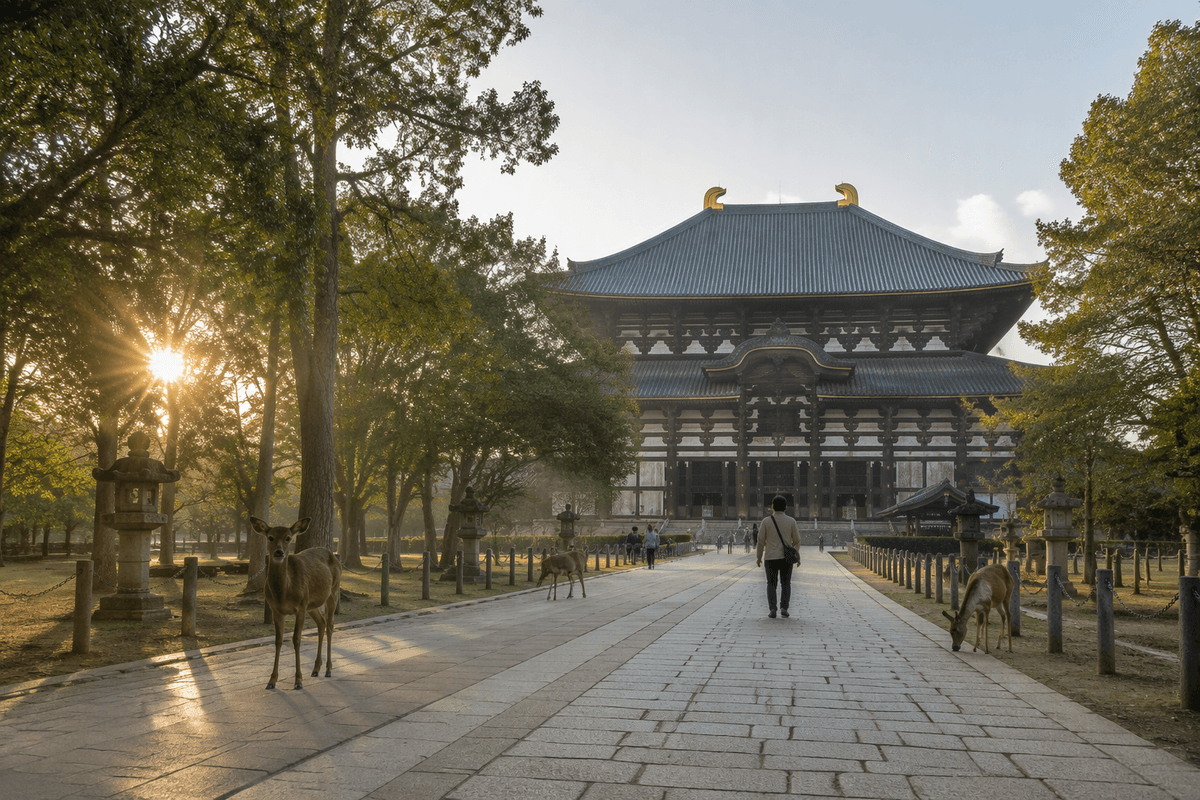
Day 6 is where the itinerary tempts you into doing “two cities in one day” like it’s a free upgrade. It can work, but only if you accept a constraint up front: you’re not doing all of Nara and all of Osaka—you’re choosing one must in each, with clean edges around transit. I like leaving Kyoto early enough that Todai-ji is still in its calmer window; the deer are already awake either way, but your patience is better before lunch lines start to form and the approach paths turn into a slow shuffle.
Todai-ji earns its “must” status because it’s big in the way your photos can’t explain, and it’s easy to navigate without a lot of micro-decisions. What doesn’t work is turning Nara into a checklist (Kasuga Taisha, Naramachi, every garden) and then wondering why Osaka feels like a neon blur later. If you’re traveling with anyone who’s skeptical about “another temple,” this is the one to spend your goodwill on—then leave Nara before you hit the second-wind crash.
Osaka in the evening is optional, but Dotonbori is the simplest high-payoff move: it’s visually loud, food is the point, and it doesn’t require a museum-level attention span. The trade-off is crowds and indecision—ten good options can be harder than two—so I’d pick one signature snack and one proper meal, then call it. What I’d skip entirely: malls. They’re comfortable, but they don’t feel like Japan in the way your limited nights should.
Day 7+ Side trips: Must one; Optional two; Skip fatigue.
The first time I tried to “use” Day 7 as a blank canvas, I ended up staring at three possible day trips on my phone while my body quietly asked for a chair. That’s the real decision point: side trips aren’t about what’s possible on the rail map; they’re about what you can do without turning tomorrow into recovery. The cleanest rule is to commit to one “must” side trip that you’d be genuinely sad to miss, then treat anything else as weather- and energy-dependent.
From Tokyo, Hakone works when you want hot springs and views—but it’s also the one that falls apart fastest in rain, wind, or cloud cover, when your “Mt. Fuji day” becomes a pricey loop of transit. Kamakura is lower-friction: fewer moving parts, more time actually walking. From Kyoto, Hiroshima + Miyajima is powerful but long; it’s best on a day you can start early and accept a later return. If that sounds like too much, Uji (for tea and an easy half-day) is the quiet win that doesn’t steal your next morning.
If you insist on an optional second trip, keep it short and local, and don’t stack it right after a late night in Osaka. The fatigue tax is real: one missed train connection or one over-ambitious detour can cost the evening you thought you’d “still have.” A side trip should make the itinerary feel bigger—not make your bases feel like places you slept between commutes.
Finish strong: buffers, rest, and realistic priorities.
My last full day in Japan always starts with a small bargaining session: do we chase one more “famous” sight, or do we make the return logistics boring on purpose? The version that works is building a buffer day that looks almost under-planned—laundry, a slow breakfast, one neighborhood you can loop back to without thinking. The version that doesn’t is booking a timed-entry museum across town, then realizing you’re doing platform math with a suitcase and a checkout deadline.
If you’re flying out the next morning, choose convenience over romance for your final night. Staying near a major station (or even near the airport) can feel like a compromise, but it buys you sleep and reduces the chance that a missed connection turns into a full-body panic. The trade-off is obvious: less atmospheric wandering, more “practical Japan.” I’ll take it—because the trip ends better when you’re not sprinting through a station with souvenirs and a shrinking margin.
One priority filter I wish I’d used earlier: each day gets one “must,” one “nice,” and one “only if it’s easy.” Japan rewards ambition, but it punishes tight chains. Leave white space for rain, crowds, and the inevitable moment you find a perfect side street and don’t want to leave—because that’s usually the memory that survives longer than the checklist.